 |
|
|
Automotive: test bench and production control
|
|
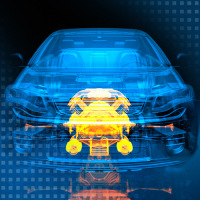
For many years, Micro-Epsilon has been a partner to the automotive industry and its suppliers. Whether in the test bench, in production monitoring or in plant construction - Micro-Epsilon sensors ensure precise and reliable measurements in numerous applications. Globally organized, Micro-Epsilon provides efficient collaboration with the global automotive industry. |
|
|
Position detection of car bodies in the processing line
|
 |
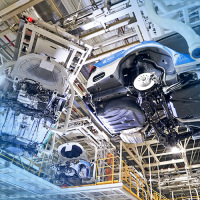
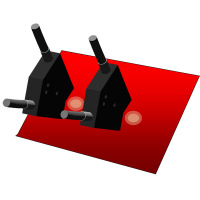
Before a car emerges from a bodyshell, it passes through numerous stations within the production, in which fully automatic processing steps are carried out. In order to enables the processing robots to recognize the exact position of the car body, several laser triangulation sensors measure the car body and transmit the position data to the robot controller.
  Smart laser triangulation displacement sensor Smart laser triangulation displacement sensor
|
|
|
|
Laser profile scanner for cockpit assembly in cars
|
|

|
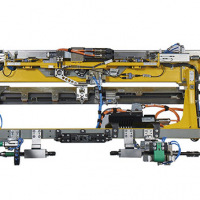
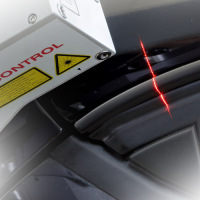
Fully or semi-automatic assembly of cockpit modules in the automotive industry requires the gripper tool to precisely position the assembly parts. As the laser scanners take over the measurement and positioning tasks, each cockpit module is individually adapted to the respective car body. Micro-Epsilon laser scanners are particularly suited for these measurement tasks due to their SMART functions and the particularly small and lightweight measuring head. They can be easily installed on a robot or manipulator.
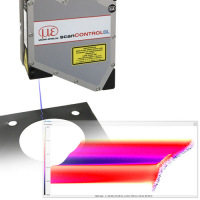
Using the SMART function, a parameterization of the sensors can be realized without further hardware components via Ethernet. In addition, measured values can be visualized and transmitted directly to the controller. The precise scanCONTROL laser profile sensor evaluates the complete profile internally and transmits the measurement values via Ethernet to the control system. This enables the actuators to change the axis positions on the gripper in order to assembly the cockpit module in the ideal position in the car body. After the cockpit is fixed, the sensor determines the installation position of the cockpit which serves as proof of quality for each vehicle.
|
|
|
For the entire process including the fitting of the cockpit, an extremely short cycle time of less than one minute is required. Measuring independent of surface conditions, the sensors provide reliable measurement values whether bright or dark paints are used, different gloss levels, variable surface structures and in unsteady ambient light conditions. The sensor automatically readjusts the exposure.
  Laser scanners for 2D/3D profile measurements Laser scanners for 2D/3D profile measurements
|
|
|
Fully automatic paint defect inspection of car bodies and attachments
|
 |
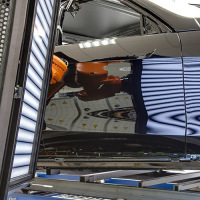
Particularly with shiny surfaces, a faultless production chain is expected in order to lend a sophisticated visual appearance to the final product. For fully automatic defect detection on car bodies and attachments, the reflectCONTROL inspection system is used. The system projects a striped pattern onto the surface. Deviations caused by defect are recorded with two cameras and evaluated via software.
  Fully automatic surface inspection of painted car bodies Fully automatic surface inspection of painted car bodies
|
|
|
|
Detecting surface defects
|
 |
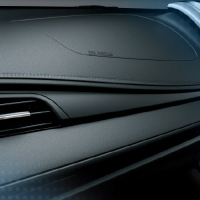
As well as the visual requirements, instrumentation panels also have to fulfill functional and security requirements. Often the passenger airbag has a predetermined breaking line which is generated using a laser. This »weak point« ensures the safe opening of the airbag at the predetermined breaking line. Sink marks may appear, which can be recognized under certain light conditions. In order to recognize these defects, surfaceCONTROL inspection systems are used which enable fast and objective evaluations to be made of the characteristics of any shape deviations, both on grained and smooth surfaces.
  Inspection of diffuse reflecting surfaces Inspection of diffuse reflecting surfaces
|
|
|
|
Behavior of the combustion engine in the test bench
|
 |
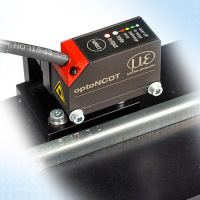
Eddy current sensors from Micro-Epsilon are considered as proven measuring instruments in the test bench of combustion engines. In towing mode as well as in the firing mode, the sensors detect different quantities which contribute to the improvement of the engine characteristics. In particular, the high measuring accuracy provided under harsh conditions in the engine distinguishes the eddyNCDT eddy current sensors.
  Inductive sensors (eddy current) for displacement, distance & position Inductive sensors (eddy current) for displacement, distance & position
|
|
|
|
Monitoring the sheet metal infeed during pressing
|
 |
During forming in the pressing plant, the presence detection and the detection of the exact sheet metal position are required. Therefore, laser triangulation sensors measure on the sheet between the dies. The challenge here is to achieve high measurement accuracy in tight spaces despite oil mist, vibrations and shocks. Since the measuring gap is very small, the diameter of the laser must be correspondingly low.
  Smart laser triangulation displacement sensor Smart laser triangulation displacement sensor
|
|
|
|
Gap measurement in aluminum die casting processes
|
 |
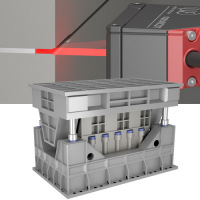
In aluminum die casting, liquid aluminum is poured into molds under high pressure and at high speeds. The high pressure acts on the closed mold and pushes it apart, which is why splinters and burrs might occur during casting. In order to measure the pressure-induced movement of the molds, eddy current sensors detect the change in distance. These robust sensors provide reliable measurement results despite high temperatures, ambient pressure and a dirty measuring gap.
  Inductive sensors (eddy current) for displacement, distance & position Inductive sensors (eddy current) for displacement, distance & position
|
|
|
|
Measuring the brake disc deformation (Disc Thickness Variation)
|
 |
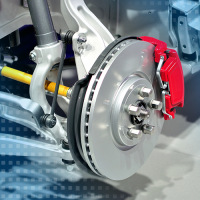
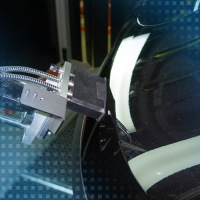
With the capaNCDT DTV, Micro-Epsilon has developed a product range that is specifically used for non-contact detection of the Disc Thickness Variation. Thickness measurements of brake discs can be carried out in test benches, in road tests or in car repair shops using non-contact, capacitive displacement sensors, which detect the thickness of the brake disc from both sides.
  Measuring Disc Thickness Variation Measuring Disc Thickness Variation
|
|
|
|
Road tests - Detection of the brake temperature under load
|
 |
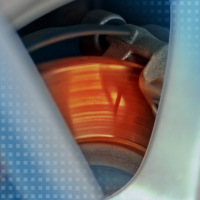
The temperature behavior of brakes plays a major role in vehicle development. In particular, the duration of heating and cooling of the brake discs provides information about the efficiency of the brake system. In test bench and road tests, non-contact temperature sensors from Micro-Epsilon measure the temperature development during braking. The compact design and the short response time of the pyrometers enable universal use in test bench and road test applications.
  Infrared pyrometers for universal measurements/span> Infrared pyrometers for universal measurements/span>
|
|
|
|
Gap measurement in robot-based assembly
|
 |
In modern production lines, scanCONTROL laser scanners are used to reliably inspect the gap sizes of the car body quickly and consistently. Thanks to surface compensation, measurements are possible on a wide variety of body paintworks.
  Laser scanners for 2D/3D profile measurements Laser scanners for 2D/3D profile measurements
|
|
|
|
|
|
LED color inspection of vehicle lights
|
 |
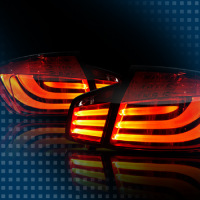
Color and intensity of vehicle lights must be reliably inspected prior to assembly and delivery. Homogenous distribution of light should also be ensured with fluctuating LED batches. The colorCONTROL MFA is a special LED test system designed to test inaccessible and widely spaced test specimens. Optical fibers enable simultaneous measurement of up to 20 measuring points.
  Sensor systems for LED color and intensity tests Sensor systems for LED color and intensity tests
|
|
|
|
|
|
Color inspection and sorting of supplier parts
|
 |
Before installing front aprons, Micro-Epsilon color sensors check if the color of the attachment matches the body color. Different color groups can be defined to cover all coatings.
  Compact True Color Sensor Compact True Color Sensor
|
|
|
|
|
|
Monitoring embossment depth
|
 |
In embossing machines, car body IDs are punched into the vehicle frame. The embossment depth must be in a defined tolerance range. In order to position the embossing tool, laser triangulation sensors from Micro-Epsilon detect the distance between the embossing tool and the component. After the embossment is finished, the sensor measures the profile of the embossment and ensures that all characters are embossed to the required depth.
  Smart laser triangulation displacement sensor Smart laser triangulation displacement sensor
|
|
|
|
|
|
Inline burr measurement on sheet edges in body manufacture
|
 |
In order to avoid corrosion, continuous and error-free corrosion protection is a critical factor in the painting process. As the thickness of the applied painting on burrs can only be determined under challenging limitations, it is a decisive advantage when the burrs are recognized early in the production process before the corrosion protection and other paint layers are applied. In contrast to fixed solutions that enable a random test, Micro-Epsilon offers its scanCONTROL 2910-10/BL Plug & Play system which provides the required precision with its high point resolution of approx. 8µm along the laser line in order to recognize burrs reliably even during inline measurements.
  Laser scanners for 2D/3D profile measurements Laser scanners for 2D/3D profile measurements
|
|
|
|
|
|
Distinction of brake discs
|
 |
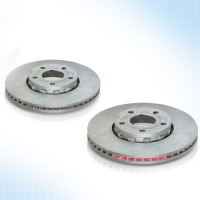
When processing car brake discs, the correct brake disc must be chosen before each stage of production in order to assign them to the manufacturer's different models. Laser scanners are used to recognize and classify the brake discs. The challenge of brake disc distinction is that the test objects are the same with regard to form, height and diameter. The gapCONTROL laser scanners are used for 100 % recognition and subsequent sorting. The only distinctive feature is a gap between two ventilation blades that signifies the respective models of the manufacturer.
|
|
|
|
|
|
Valve lift measurement in the MultiAir cylinder
|
 |
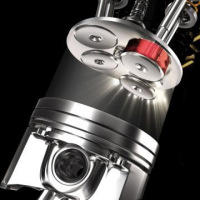
The MultiAir cylinder procedure patented by FIAT / Schaeffler controls individual valves independently of the camshaft. An electro-hydraulic control system provides fully variable valve control. Therefore, the stroke and the opening/closing times of the inlet valve are freely controllable. This reduces fuel consumption and CO2 emissions with a simultaneous increase in engine performance and torque. During the end-of-line inspection of the MultiAir components, a test bench simulates the conditions inside the engine. Eddy current sensors from Micro-Epsilon measure the exact valve lift.
  Inductive sensors (eddy current) for displacement, distance & position Inductive sensors (eddy current) for displacement, distance & position
|
|
|
|
|
|
Color comparison between parking sensor and body shell
|
 |
Car attachments such as parking sensors are painted separately. However, during assembly there must be no difference in color between the parking sensor and the bumper, which means the two colors must be identical. The colorSENSOR from Micro-Epsilon enables a direct color comparison between the parking sensor and the rear bumper.
  Compact True Color Sensor Compact True Color Sensor
|
|
|
|
|
|
Color recognition for seams in automotive interiors
|
 |
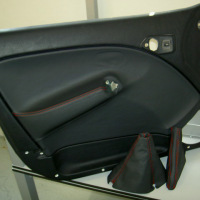
In the assembly line of a well-known German car manufacturer, similar car interior parts must be differentiated from each other based on the respective seam color. Previously, professional testers have visually checked the seams. In order to automate the process and to optimize it economically, colorSENSORs from Micro-Epsilon are now being used.
  Compact True Color Sensor Compact True Color Sensor
|
|
|
|
|
|
Vibration displacement measurement in road tests
|
 |
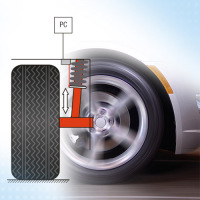
In the automotive industry, testing the chassis is a prerequisite for driving safety. Here, sensors are required which can also withstand the high demands of road tests. For example, draw-wire sensors are mounted in parallel to the shock absorbers for the vibration displacement measurement and the data is recorded under varying road-surface properties. The displacement signal obtained is differentiated to calculate the vibration velocity and vibration acceleration.
  WDS-MPM WDS-MPM
|
|
|
|
|
|


