 |
|
|
Precision Optics
|
|
Measuring tasks in the optics industry are a huge challenge for sensors. Shiny and reflective targets often present complex shapes and must be measured with high resolution and speed. |
|
|
Testing the quality of objectives for microscopy and smartphones
|
|
|
|
|
Measuring the refractive data of contact lenses
|
 |
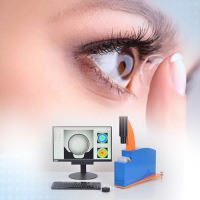
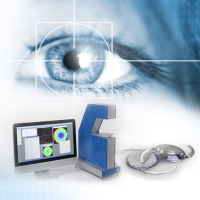
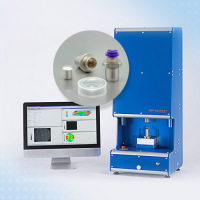
When measuring the distribution of the refractive power, the imaging quality and the lens diameter of soft and hard contact lenses, measuring systems based on wavefront technology are used. Ergonomic lens handling and high measuring speed play a decisive role here.
  Optische Systeme von Optocraft - SHSOphthalmic cito Optische Systeme von Optocraft - SHSOphthalmic cito
|
|
|
|
Adjusting laser systems
|
 |
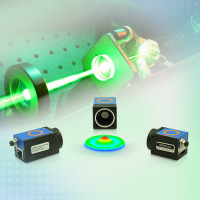
In addition to beam parameter measurements, Shack-Hartmann wavefront sensors are also used to adjust laser systems or fiber-optic systems. The advantage here is their insensitivity to vibrations, suitability for different wavelength ranges, as well as their high dynamic range.
  Optische Systeme von Optocraft - SHSLab Optische Systeme von Optocraft - SHSLab
|
|
|
|
Testing and adjusting binoculars/spotting scopes and objectives
|
 |
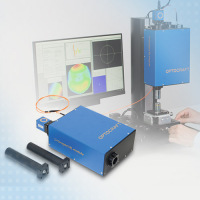
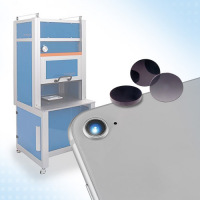
The precise measurement of the transmitted wavefront provides a qualitative assessment of the imaging quality of an optical system while enabling inline adjustment of the system. The SHSInspect RL measuring module can be flexibly integrated into a test bench.
  Optische Systeme von Optocraft - SHSInspect RL module Optische Systeme von Optocraft - SHSInspect RL module
|
|
|
|
Measuring the refractive data of intra-ocular lenses
|
 |
When measuring the distribution of the refractive power, the imaging quality and the lens diameter of intra-ocular lenses, measuring systems based on wavefront technology are used. Ergonomic lens handling and high measuring speed play a decisive role here.
  Optische Systeme von Optocraft - SHSOphthalmic base Optische Systeme von Optocraft - SHSOphthalmic base
|
|
|
|
Measuring the surface shape of contact lenses and molds
|
 |
In order to control and optimize processes, the front and back of the contact lens are measured with incident light during the production process. Molds and tools are measured as well as the calculation of tool offsets.
  Optische Systeme von Optocraft - SHSOphthalmic autoROC Optische Systeme von Optocraft - SHSOphthalmic autoROC
|
|
|
|
Measuring the optical quality of flat optics
|
|
|
|
|
Measuring the curvature of lenses
|
 |
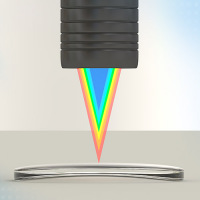
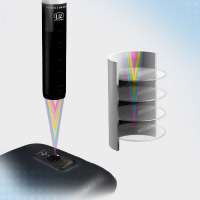
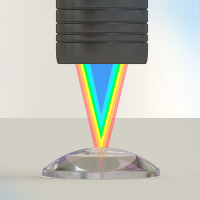
In order to meet production tolerances, the contour of optical lenses such as eyeglass lenses or objectives, confocal chromatic sensors are used. Based on the distance values, statements about the surface properties can also be made. The sensors enable a large tilt angle which means they can also detect highly curved surfaces.
  Confocal sensor systems for displacement, distance, position and thickness Confocal sensor systems for displacement, distance, position and thickness
|
|
|
|
Camera auto focus measurement
|
|
|
|
|
Surface inspection of mirrors
|
 |
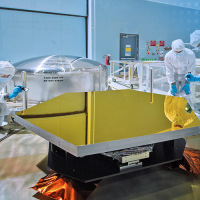
With optical components such as mirrors, a high degree of surface homogeneity is required. reflectCONTROL sensors are used to test the reflecting surfaces of these reflecting surfaces. They detect and classify surface deviations on the mirror surface.
  Inspection system for shiny surfaces Inspection system for shiny surfaces
|
|
|
|
Quality assurance based on multi-functional optical testing
|
 |
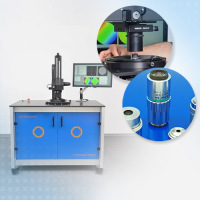
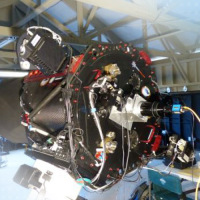
Optical systems are used in a wide variety of industries and applications, including a wide range of products from micro-optics with dimensions in the μm range to telescope lenses with diameters of several meters. Optocraft delivers multifunctional systems based on the Shack-Hartmann wavefront technology for optics testing. Providing information about the quality of the optics based on precise wavefront measurements, these measuring systems contribute to the optimization of development and manufacturing processes.
  Optische Systeme von Optocraft Optische Systeme von Optocraft
|
|
|
|
Measuring the center thickness of lenses
|
|
|
|
|
Nanometer positioning in lithography machines
|
 |
To illuminate individual components on the wafer, the lithographic devices move the wafer to the respective position. Capacitive displacement sensors measure the position of the travel path in order to enable nanometer-accurate positioning.
  Capacitive displacement sensors and measurement systems Capacitive displacement sensors and measurement systems
|
|
|
|
Measurement of contact lenses
|
 |
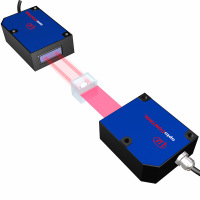
Contact lens manufacturers have a need to conduct various material tests on clear, flexible polymer samples. The material samples must be submerged during testing in a saline solution for hydration. The highly sophisticated ThruBeam model ODC2600-40 is uniquely capable of making dimensional measurements with high accuracy and speed.
  High resolution optical micrometer High resolution optical micrometer
|
|
|
|
|
|


