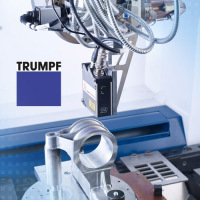
3D scan prior to laser cladding / laser deposition welding
Laser scanners from Micro-Epsilon are used to detect the contour during laser cladding. These scanners detect the exact contour of the object before the weld is deposited. The 3D data is used to exactly determine the guidance of the weld head. |
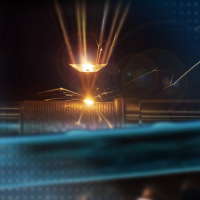
Deposition control of coatings
In coating processes based on laser cladding or laser deposition welding, laser scanners from Micro-Epsilon monitor the coating. Their high profile resolution enables reliable monitoring of the weld deposition. |
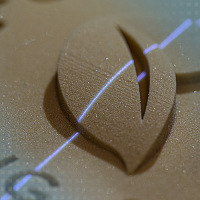
CAD comparison of the printed component
In order to monitor their production quality, printed components are inspected using Blue Laser scanners. The components are moved past the scanners with a traversing unit. A 3D image is produced from the laser profiles and then compared with the CAD data. |
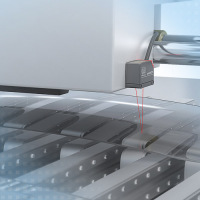
Print head positioning and focal point control
With printing processes, the exact height of the print head is a crucial factor for the quality of the final product. High-speed distance measurement against different material surfaces and reliable edge detection enable a fast readjustment process. |
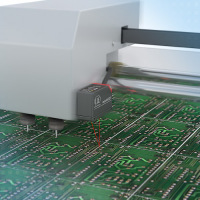
High-resolution fine positioning when printing PCBs
With printing, soldering and assembling processes of printed circuit boards, the exact height positioning of the print head is crucial for a flawless process. optoNCDT laser sensors enable precise positioning of the print head. Regardless of surface reflections, these sensors provide precise measurement results which are used to adjust the height and to detect the edges. |
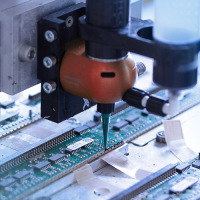
Glue bead measurement in dispensing systems
After the reflow soldering process, glue is applied on some points to protect the circuit. The glue bead thickness is a critical factor that is reliably inspected using laser sensors. |
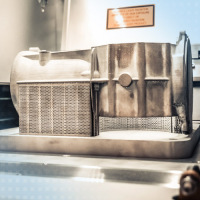
Orientation and positioning of the building platform
With selective laser sintering, the building platform is lowered after each melting cycle by a defined value which corresponds to the required Z resolution. Inductive displacement sensors based on eddy currents monitor this building platform in order to allow the print head to be aligned in parallel. |
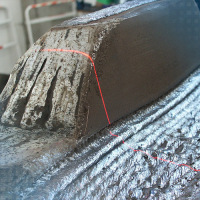
Robot path calculation in repair welding processes
In order to calculate the robot path, scanCONTROL laser scanners determine the areas that need to be welded. Providing a high profile resolution and profile frequency, these laser scanners enable quick repairs. |
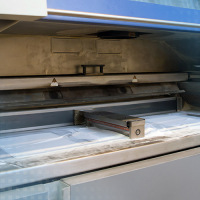
Monitoring the tilted squeegee
Capacitive displacement sensors monitor the position of the squeegee. Two synchronized sensors measure with high resolution both ends of the squeegee to provide exact statements about its tilt angle. This is to ensure that the powder bed has been pulled off evenly. |
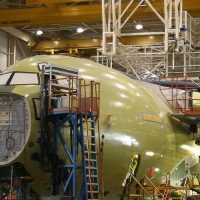
Non-contact inspection of rivet bore holes
In aircraft construction, several hundred thousand rivets are usually used. Fully automatic machines are precisely fitting rivet holes and rivets. An optical inspection system from Micro-Epsilon inspects the inside diameter of the rivet holes without contact. |
