 |
Non-contact inline profile measurement of inner liner material (thickness 1mm to 18mm) |
|
During the production of inner liner, the thickness profile of inner liner material is measured immediately after the calender using systems of the thicknessCONTROL TIP series. Accurate precision of the non-contact optical system ensures high quality and security of the product produced. Sensors belonging to the thicknessCONTROL RTP series can also be applied for this application. |
Benefits |
|
Material parameters |
|
| Products of the RTP family are designed as C- or O-frames which are equipped with application-specific sensor technology (thru-beam, triangulation or laser line triangulation). |
TIP 8301.EO
|
 |
|
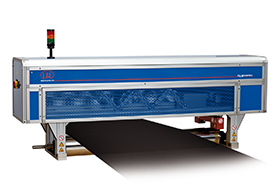
The system TIP 8301.EO operates according to a combination principle consisting of a thru-beam sensor, an eddy current sensor and a measuring roller. The eddy current sensor and the thru-beam sensor are applied on an innovative measuring clamp. Since the sensor measures the distance from the clamp to the roller, the lower side of the material is detected. Since the sensor performance is specially aligned with the measuring task a huge measuring gap is possible while offering highest precision. The thru-beam sensor detects the upper side of the material. The thickness of the target is the difference between the two signals. The measuring clamp is equipped with a pneumatically cleaning mechanism and therefore ideal for the application in harsh environment. Special features:
|
TIP 8301.CT
|
 |
|
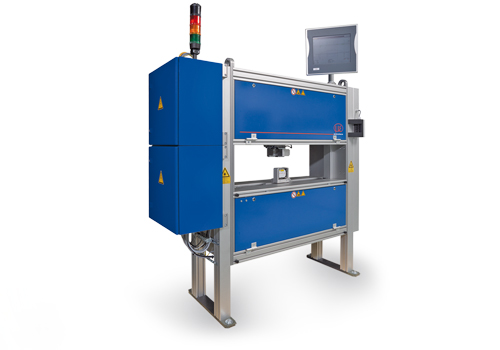
The TIP 8301.CT is based on the laser triangulation sensors and therefore ensures the measurement being independently from material constants. The system is designed as O-frame, both sensors detect the thickness according to the differential method. In order to ensure highest precision, the laser beams of the sensors are accurately adjusted during the production process using optoelectronic tools which have been specially developed. The system is ideal for monitoring high-dynamically processes due to its high measuring rate. The O-frame mechanics of the system dispose of a compensation frame which does not vary with temperature and which is used in order to avoid temperature fluctuations of the measuring frame using further sensors. Special features:
|
TIP 8301.ET |
 |
|
The TIP 8301.ET is based on the laser triangulation sensors and therefore ensures the measurement being independently from material constants. The system is designed as O-frame, both sensors detect the thickness according to the differential method. In order to ensure highest precision, the laser beams of the sensors are accurately adjusted during the production process using optoelectronic tools which have been specially developed. The system is ideal for monitoring high-dynamically processes due to its high measuring rate. The triangulation sensor applied on the upper side is combined with an eddy current sensor which monitors the distance of the two optical measuring sensors while allowing a software-technical compensation of temperature-induced changes of the measuring gap. Additionally, the compensation sensor is applied according to a special alignment with the measuring task in order to ensure both, a huge measuring gap and highest precision. Special features:
|
RTP 8302.T |
 |
|
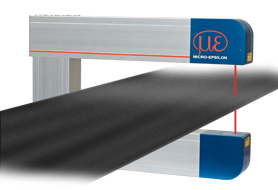
The RTP 8302.T is based on the laser triangulation sensors and therefore ensures the measurement being independently from material constants. In order to ensure highest precision, the laser beams of the sensors are accurately adjusted during the production process using optoelectronic tools which have been specially developed. The system is ideal for monitoring high-dynamically processes due to its high measuring rate. The C-frame mechanics of the system disposes of an automated in-situ calibration in order to avoid interferences caused by temperature. Special features:
|
RTP 8302.LLT |
 |
|
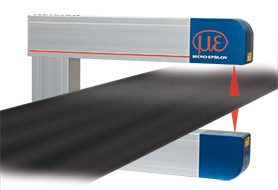
The RTP 8302.LLT is based on the laser line triangulation sensors and therefore ensures the measurement being independently from surface characteristics of the target material. Combined to point sensors, the system offers more precision in the case of gap width. The C-frame mechanics of the system disposes of an automated in-situ calibration in order to avoid interferences caused by temperature. Special features:
|









































































 Permanent high product quality while reducing raw material use